Setting up SSO with Azure AD
Administrators use the following steps when preparing to run SSO with Azure AD.
Note: This procedure requires an Azure AD Premium subscription.
- To connect an application using an app integration template, sign in to the Azure portal using your Azure Active Directory administrator account.
-
Browse to the Active Directory > Enterprise Applications > New application > Non-gallery application section:
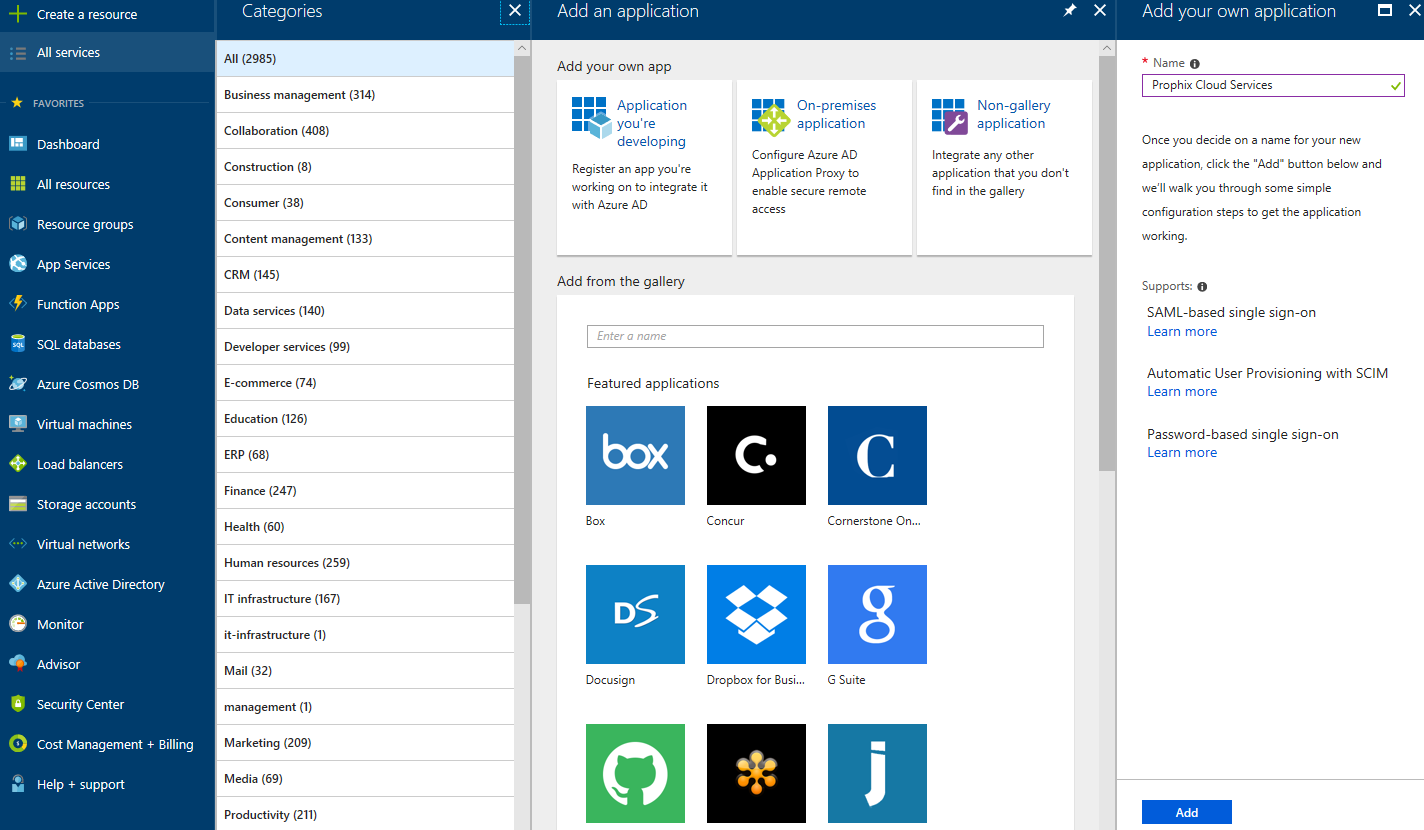
- To give a Name to the app, type Prophix Cloud Service and click Add.
-
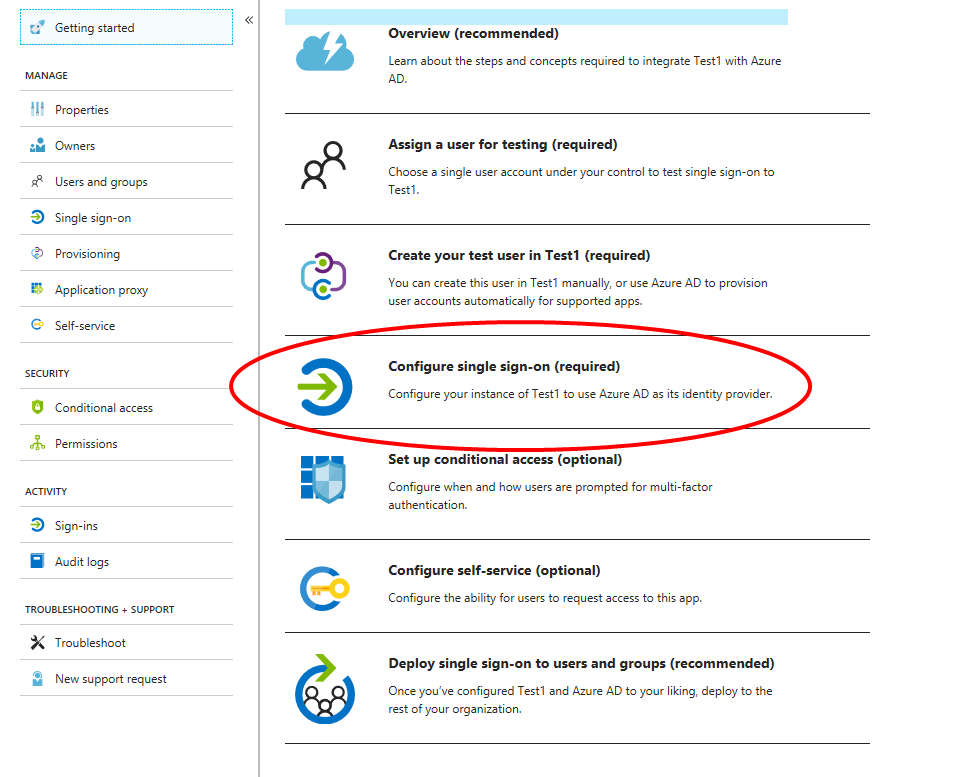
Select Configure single sign-on.
-
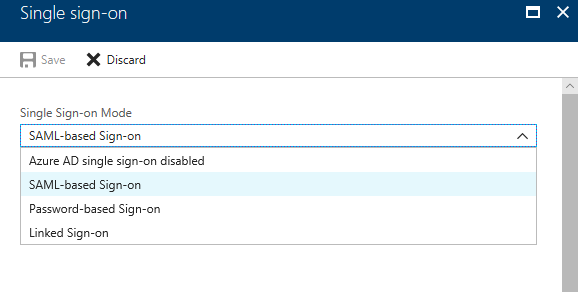
For Single-Sign-on Mode, select SAML-based Sign-on:
-
Under Basic SAML Configuration, provide the required SAML2 information for the Prophix Cloud Services Domain and URLs:
-
Identifier (Entity ID):
https://abc-company.us1.prophix.cloud/sso/Saml2
-
Reply URL (Assertion Consumer Service URL):
https://abc-company.us1.prophix.cloud/sso/Saml2/Acs
-
- Under SAML Signing Certificate, beside Federation Metadata XML, click Download.
- To activate the SAML2 signing certificate, enable Make new certificate active.
-
To save your changes in Azure Active Directory, click Save.
You are now ready to set up SSO.
Troubleshooting
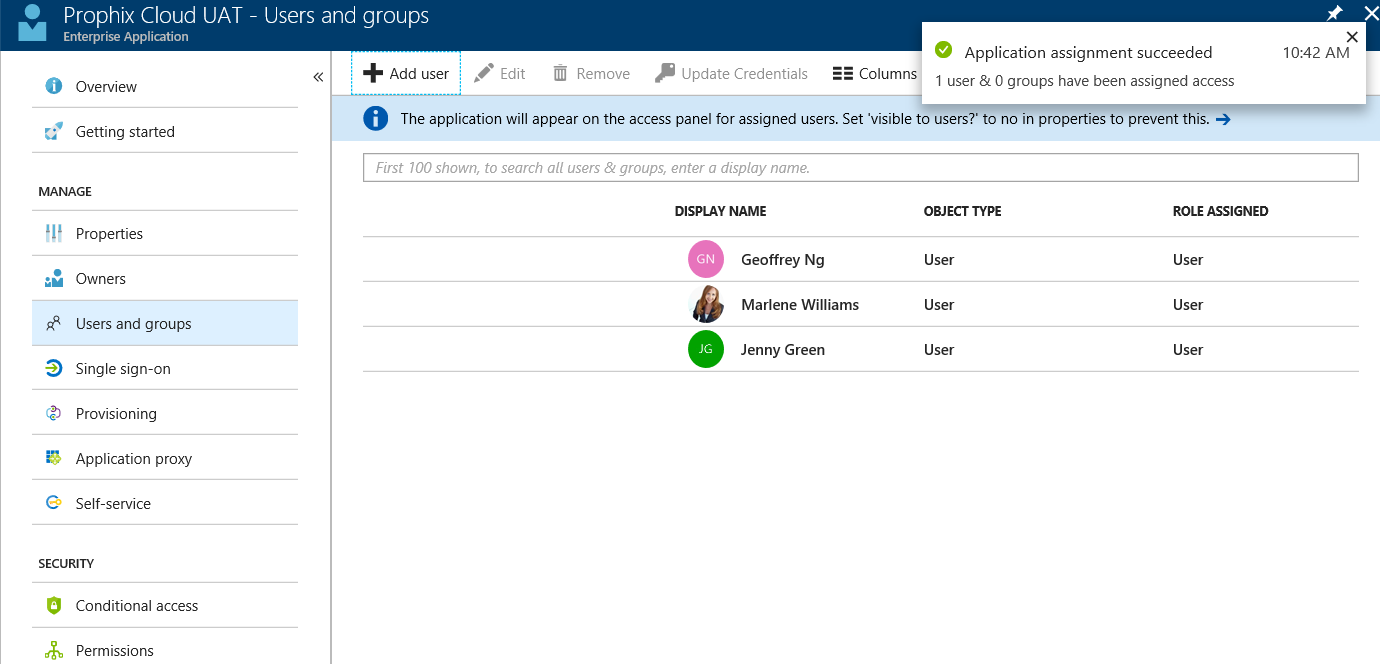
A user who has not been assigned to the Enterprise Application provisioned in Azure AD will receive the following error message in Azure AD:
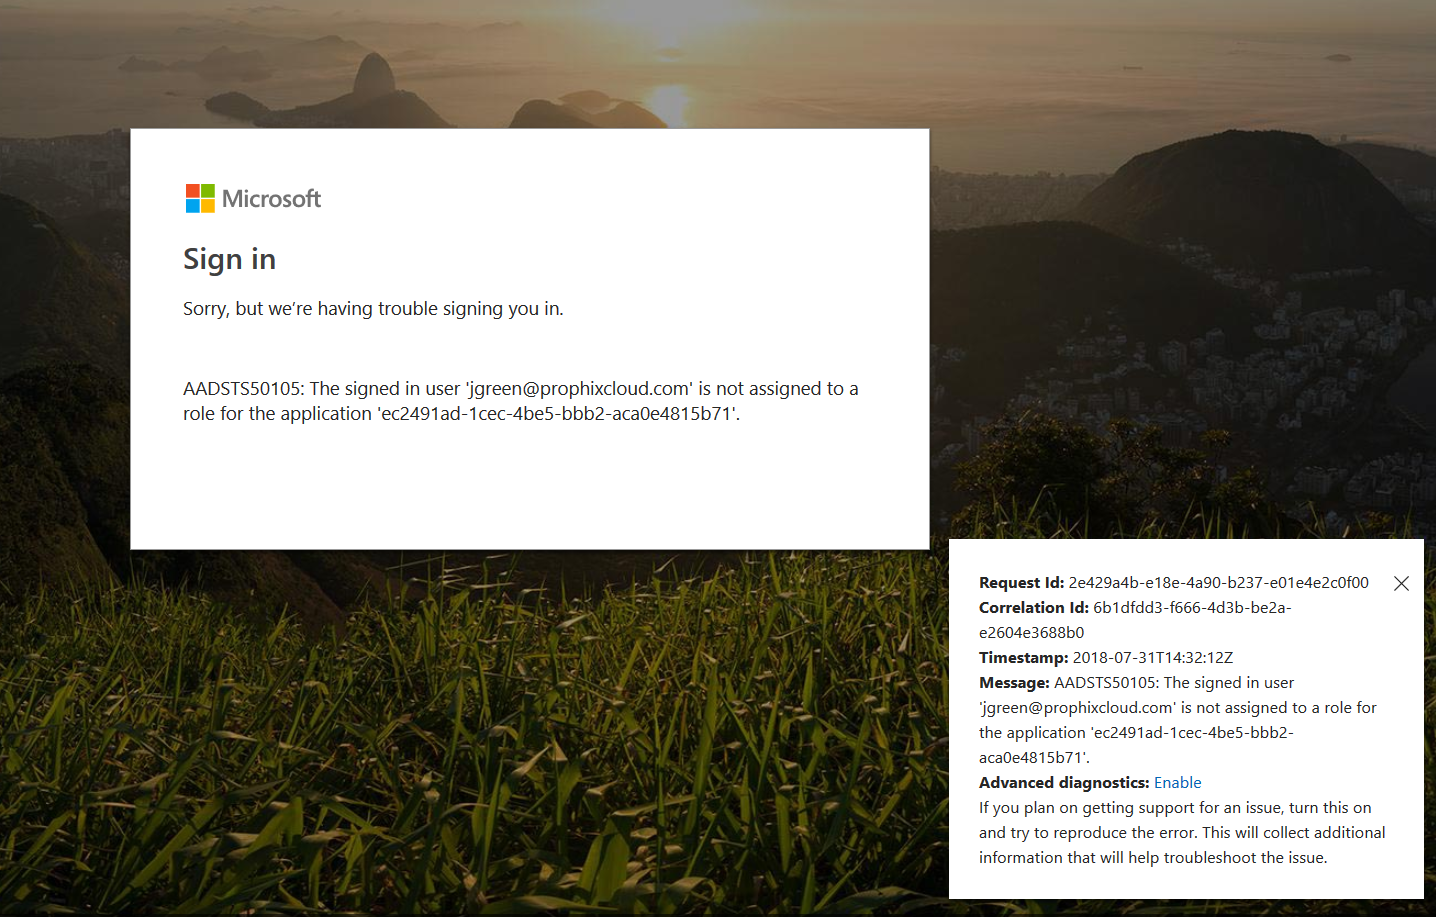
Note: This error message may not apply in all cases and depends on whether the Azure administrator has enabled the optional User assignment required feature in Azure AD.
To resolve, verify that the user has permissions to authenticate to the application: